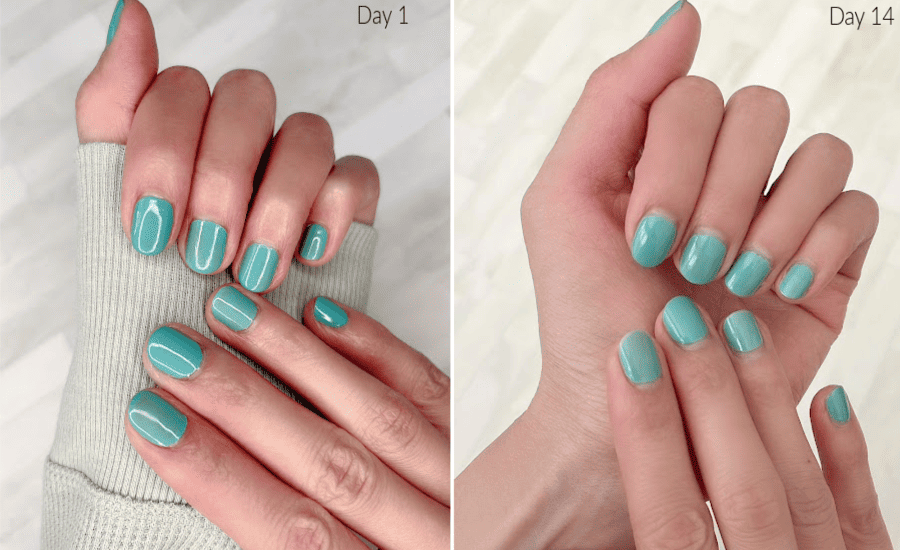
Ever wondered how to get nail polish to stay longer – like a solid two weeks longer?
We all adore the way freshly painted nails look; it’s our little self-care happiness that adds a touch of beauty to our lives. The whole at-home manicure routine is practically therapeutic, and the excitement of revealing the end result? Priceless.
But, let’s talk real talk – that heartbreak when a chip shows up just two days in.
It’s like a mission to perfect nails that ends in a redo. As a mom dealing with toddlers and endless handwashing, my manicure journey felt like an uphill battle.
Now, here’s the game-changer:
By nailing the prep and maintenance game, I’ve cracked the code to nail polish that actually stays put.
If you’re like me, constantly putting your nails through the wringer, these tips will be your saviors.
Ready for flawless, long-lasting nails? Let’s dive in!
This post may contain affiliate links, which means I’ll receive a commission if you purchase through my link, at no extra cost to you. Please read full disclosure here.
Prep your nails
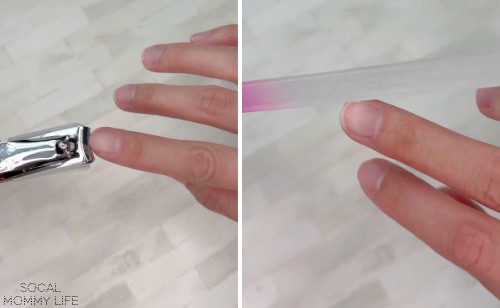
Cut and file your nails
Trim your nails to your preferred shape.
Take a moment to delicately file until the tips are super smooth. Trust me, this smooth canvas is key for the nail polish to stick around like a champ.
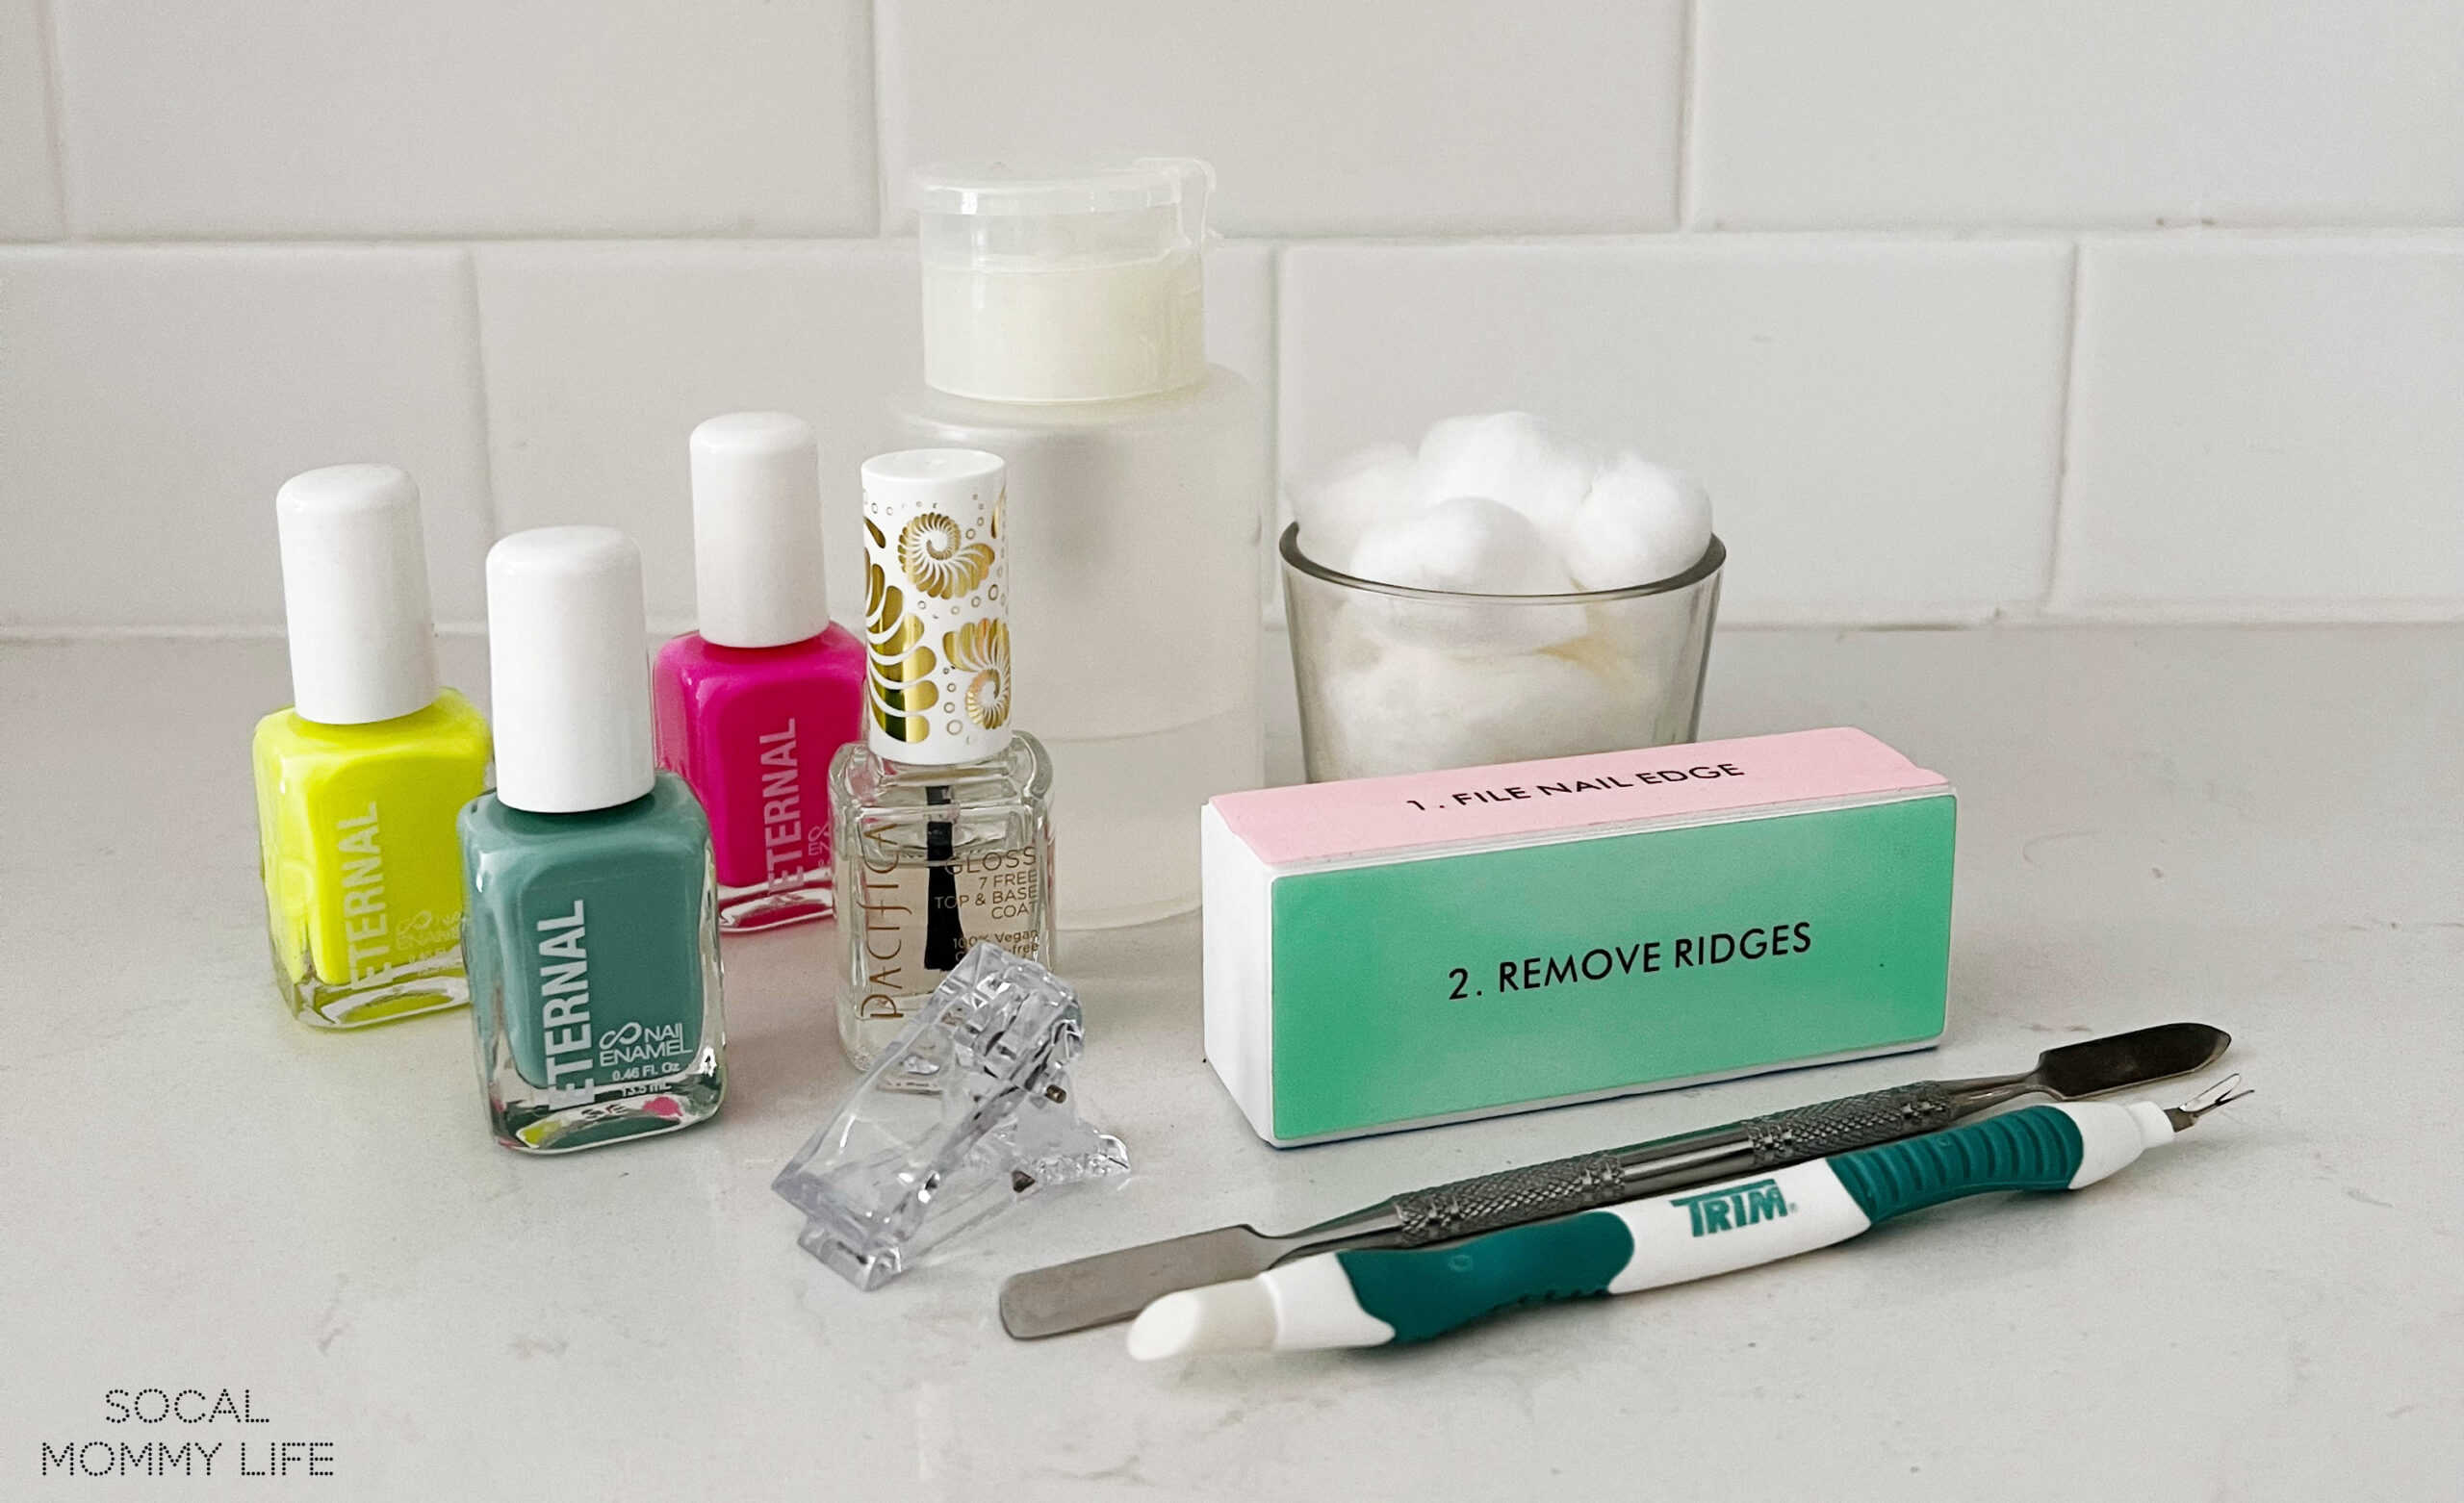
I love using glass nail files because they’re more gentle on the nails and will create less keratin residue when filing.
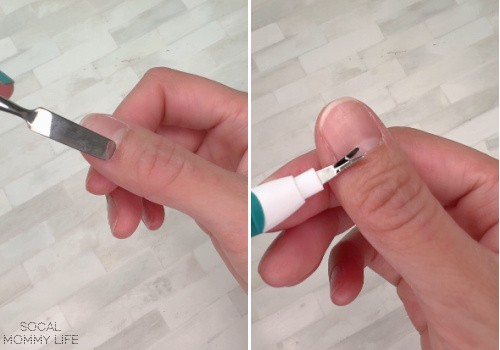
Trim and push back cuticles
Nail polish on your cuticles comes off quicker than polish on your nails. When cuticles are neatly trimmed and pushed back, the polish has a smooth surface to adhere to, preventing premature chipping or peeling.
Simply use a cuticle pusher to push back cuticles. Pay special attention to the sides of your cuticles. If your cuticles are on the thicker side like mine, you can use a cuticle trimmer to trim off excess cuticles.
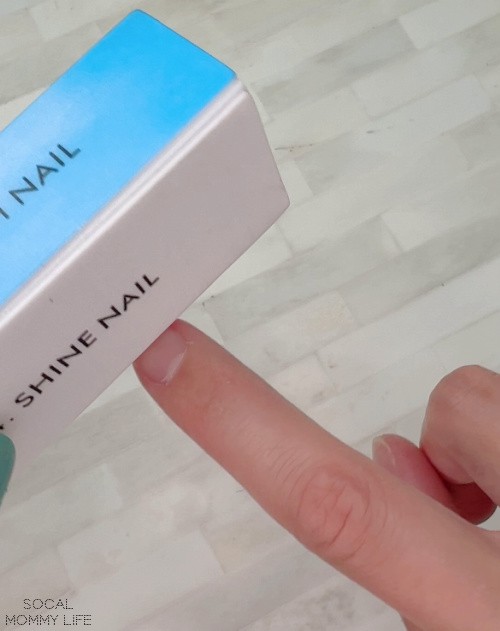
Buff Your Nails Before Applying Polish
Buffing your nails not only eliminates any natural oils that could mess with your polish game but also seals the deal after filing, creating a pristine base. This clean slate is your secret sauce for a polish that sticks around.
I use the 4-way buffing block to buff my natural nails before applying polish. I love that I can also use it to smooth and shine nails when I don’t feel like wearing nail polish.
Remove excess oil from your nails
After buffing, give them a good wash to eliminate any lingering dust or oils.
Here’s the magic touch: wipe your nails with alcohol to ensure every bit of excess oil is gone. This not only preps the canvas for a flawless polish application but also ensures that your manicure is in it for the long haul.
Properly apply nail polish so that it stays on longer
Apply thin color coats
Thin coats dry faster, creating the perfect balance between wet and dry. This magical ratio ensures that each coat gets just the right amount of moisture, forming a strong bond as it dries.
On the flip side, opting for thick coats hinders this drying and bonding process, leaving each coat consistently wet.
Beyond the technicalities, thin polish layers reduce the risk of catching on surfaces or accidental nail impacts that could lift the polish.
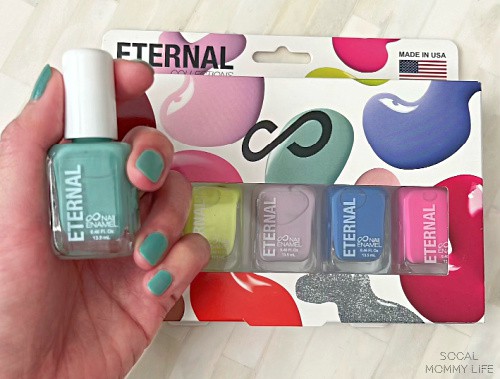
I’m a fan of Eternal’s nail polish. They’re one of the highest rated nail polish on Amazon and they are super affordable. These vibrant colors only need one coat and are seriously one of the quickest-drying nail polishes available.
Wrap the tips
Wrapping the fingertips It’s not just a little step; it’s a massive difference-maker.
When you swipe a thin coat of polish along the free edge of your nails, you’re creating a barrier that delays the intrusion of water and oils under the polish. This delay is the key to preventing those pesky chips from showing up too soon.
And guess what?
Even if your nails are on the shorter side, don’t skip this step. When you’re applying polish, make sure to wrap it around the tips, following the natural curve of the nail and finishing just beneath.
Apply only your nails
It’s common for a little nail polish spillage onto the cuticles or skin. Now, while it might seem harmless, it’s a sneaky troublemaker. If the polish gets under your skin or onto your cuticle, it’s like breaking the seal that keeps it snug on your nail. When it peels off your skin or cuticle, it takes your perfect polish with it.
I always use these nail tip clips when I paint my nails. These little clips make it a breeze to paint only the nails and not onto my skin.
Apply top coat
Whether you’re vibing with matte vibes or all about that shine, settling for anything less than a stellar top coat is a no-go. The right top coat is a must in extending the life of any manicure.
Look out for formulas that shout out chip resistance, offer protection, and throw in some nail-strengthening magic.
Let your nail polish dry and fully set
It should take your nail polish around 7 to 10 minutes to dry. This wait is crucial to avoid any unfortunate dents that can happen if you rush it.
Need a little speed boost? Cool air is your new best friend! Whether it’s a fan or a hairdryer, just ensure it’s set on cool – it works its magic faster than warm air.
After manicure care
Nourish cuticles with oil
Hydrated, happy cuticles create a protective barrier, preventing the polish from chipping and peeling. It’s like giving your nails a shield against the daily grind. The added moisture not only promotes healthier nails but also helps the polish adhere better, ensuring it stays put for an extended glam time.
Every night, I rub oil around my cuticles and follow up with hand cream. I’ve been using the award-winning L’Occitane Nourishing Nail & Cuticle Oil for years. You can also use vitamin E, avocado oil, or coconut oil if you have them around.
Avoid soaking nails in water
Steer clear of extended water exposure, especially hot baths and jacuzzis, as it can be a polish’s worst enemy. Water causes the nail to expand, and when it contracts as it dries, it can lead to chipping and peeling of your nail polish.
Use gloves
When tackling chores like dishes or cleaning makeup brushes, slip on those gloves. Water and cleaning chemicals can be the silent enemies of your manicure, causing chips and premature fading.
By protecting your nails with gloves, you’re creating a shield against the elements, ensuring your nail polish stays vibrant and chip-free for much longer. It’s a small effort for big results in maintaining that polished perfection.
Apply top coat every 3-5 days
Our busy days can be tough on our nails, causing chips here and there. Reapplying the top coat is like giving your manicure a refresh button.
Don’t forget to seal the deal by gliding the top coat along the edges of your nails. Especially if you’re a hand-washing pro or use your hands a lot, apply the top coat more often. One of the top coats I’ve used is the Seche Vite Dry Fast Top Nail Coat.
Don’t use your nails as tools
Resist the temptation to turn your nails into multitool wonders! Avoid using nails to open cans and if you have longer nails, try using a stylus for your phone/tablet instead.
Frequently asked questions
Is a base coat needed for a longer-lasting nail polish?
The pros will always tell you that a base coat is needed for long-lasting nail polish. But in my experience, it didn’t make a difference. I think that if you properly prep your nails and use a good color nail polish and top coat, you can skip the base coat.
What fingernail polish stays on the longest?
JINsoon, OPI, and Dior Vernis Gel Shine & Long Wear Nail Lacquer are the reigning champs, dominating the charts on authority sites like Martha Stewart, BuzzFeed, and The Cut.
Also, opt for glitter polishes as they tend to last longer with their thicker consistency.
In wrapping up our journey to nail perfection, remember that a little TLC goes a long way. From shaping those nails to choosing the right products, we’ve unveiled the secrets to a manicure that stands the test of time.
Now, it’s your turn – try out these tips and let me know how it goes! Share your nail adventures in the comments below.

