

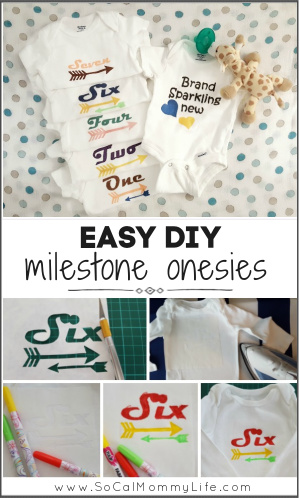
Milestone onesies are one of the easiest DIY crafts you can make for your baby. I started making them when I was pregnant. I only made up for 3 months because I don’t know how big or small my baby will be. Since Baby W came home, I have been making his milestone onesies on a month-by-month basis.
The cool thing about this DIY tutorial is that you can customize the images. You can use this tutorial to print anything you wish on your onesies, no Cricut or special tools are needed!
This post may contain affiliate links, which means I’ll receive a commission if you purchase through my link, at no extra cost to you. Please read full disclosure here.
Here is a step-by-step tutorial on how to make milestone onesies
Things you’ll need for your DIY baby milestone onesies:
- Baby onesie or bodysuit
- Freezer Paper – make sure it’s the kind with wax on one side
- Non-toxic fabric marker – fine tip works best!
- X-Acto knife or craft knife
- Iron & ironing board
- Printer & printer paper
- Scissors
- Cutting board

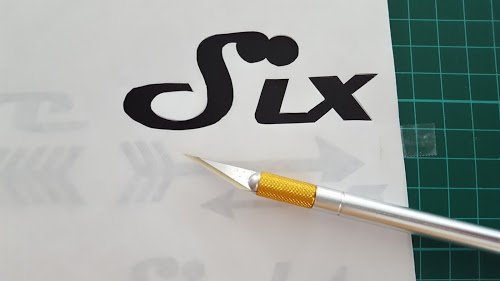
Step 1: Create milestone images
Type out each milestone in MS Word. You can play around with font and size. Be creative with adding figures too. For my onesies, I found some cute little arrows online and pasted onto my milestone template.
Since you will be placing freezer paper on top of your designs, print your images in black. Depending on how small or large you want for the images, you can fit 6 milestones in a standard 8″ x 11″ paper.
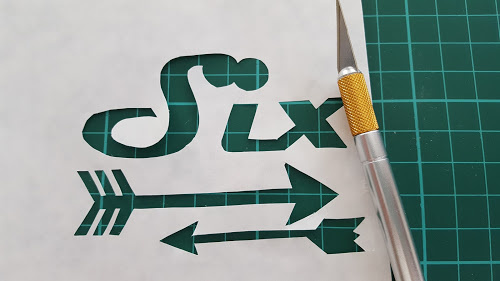
Step 2: Create freezer paper stencils
With the wax side of the freezer paper facing down, tape the portion of the freezer paper you want to cut on top of your printed milestone design. This will help secure the freezer paper when you cut it.
Using an X-Acto knife or craft knife, carefully cut out the images underneath. You just made your freezer paper stencil!
Step 3: Place freezer paper stencil in the center of the onesie
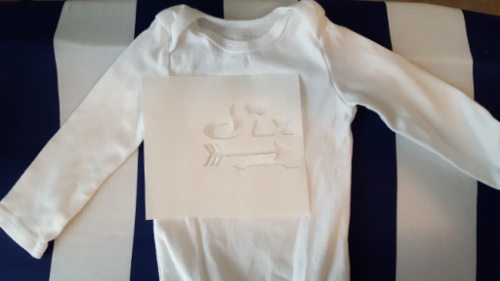
Step 4: Transfer stencil onto the onesie
Once you’ve aligned the stencil, iron it with high heat. The heat will adhere to the wax of the freezer paper onto the white onesie.

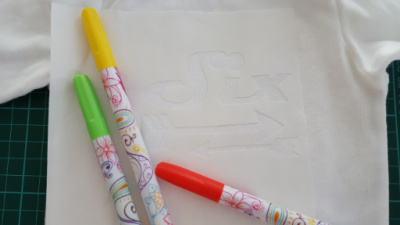
Step 5: Color in stencil gaps
Now, this is the fun part! Pick out the fabric marker and fill in the stencil gaps. Try to apply as many pigments as possible to the fabric.

Step 6: Final touch-up on your perfect milestone onesie
Peel off the stencil. Carefully draw in gaps and outline the images if needed.
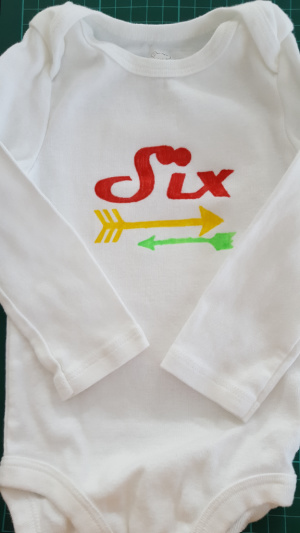
So here it is! Baby milestone onesie in 10 minutes!!
Have fun DIY-ing…

Do you love this post? Be sure to click like and share!