

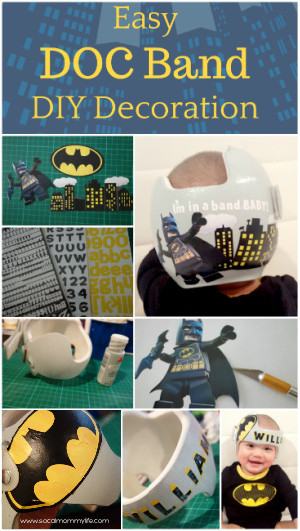
Looking for a fun way to dress up your baby’s DOC band? These DOC band decorating tips are so easy and fun. With just a few simple supplies, you can create a colorful and personalized baby helmet that will make your little one stand out. Check out the tutorial below to get started!
I used the decoupage technique to paste pictures and stickers onto the DOC band and seal it with mod podge. The man of the house is a die-hard Batman fan so not surprisingly, our son is getting a “bat-band” 🦇. You can, of course, use any pictures and stickers to your liking.
This post may contain affiliate links, which means I’ll receive a commission if you purchase through my link, at no extra cost to you. Please read full disclosure here.
This post is all about DOC band decorating.
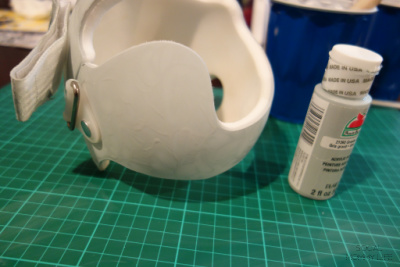
Before You Start Decorating The DOC Band
The entire decoration process from first cleaning the helmet to finally waiting for it to dry took about 3 hours for me ( I’m a beginner decoupager so it took me longer than expected).
Since the helmet is usually worn for an extended period of time, please get clearance from your baby’s clinician on how long the DOC band can be removed. In Baby W’s case, he wears the helmet for 23 hours a day. However, we got clearance from the clinician that it’s ok to have it removed for about 3 hours for me to decorate it.
Alternatively, you can work on the helmet on separate days. For example, apply a base coat and let dry on day 1, apply sticker and seal on the second day, and so forth. This way, your baby will get the full wear length.
Supplies You’ll Need
- Mod Podge (gloss finish)
- Acrylic paint
- 2″ Sponge brush
- Xacto knife
- Printer and paper, stickers, fabric, napkins… anything you can cut pictures out of
You ready? Let’s get crafty!
How To Decorate Your DOC Band
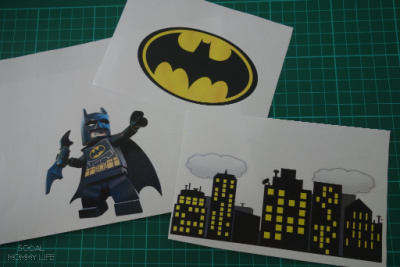
Step 1 – Create decals for the DOC band
Find images online and print them out. You can also use fabric, wallpaper, magazine pages, basically anything that is thin and can be cut out of. I sort of eyeballed how big I want the image to fit on the helmet and resize them before printing them out.
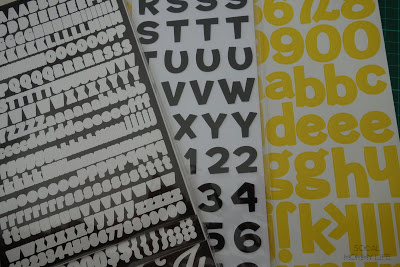
Step 2 – Use stickers to decorate
Use stickers for letters. Sticker letters are widely available and come in wide varieties. It’s less time-consuming and looks neater than cutting letters out of paper. I used these sticker letters for my son’s name.
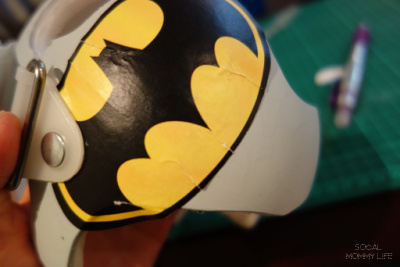
Step 3 – Cut out your desired images
I used a xacto knife for most of my DIY projects. Here, I was able to precisely cut out Batman!
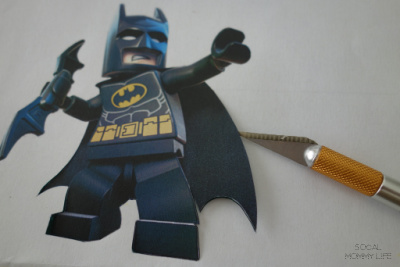
Phew~ my eyes almost crossed after cutting Batman and Gotham City out.
Step 4 – Paint the DOC band
This is an optional step. You may choose to apply the images directly onto the clean band. Or, apply acrylic paint as the background color. Carefully to not paint on the foam/inner parts of the helmet.
Tip: To avoid brush strokes, I added a small amount of water to the paint to let it travel more evenly when drying. Also, I found using a sponge brush causes fewer brush strokes than the traditional flat brush.
Some of you may wonder will sanding the helmet make the paint stick better?
It is advised to NOT sand the helmet before you start painting. I’ve confirmed with the makers of the DOC band that sanding may distort the helmet regardless of how fine the grit of the sandpaper is.
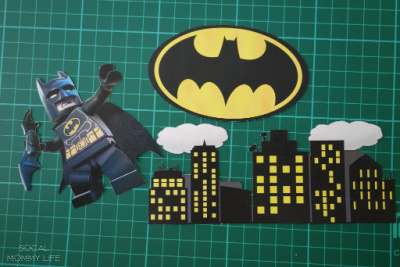
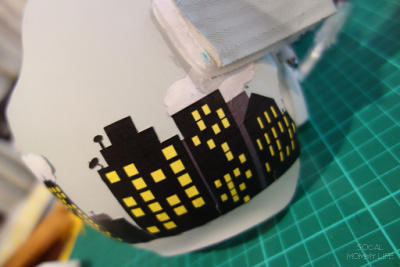
Step 5 – Decorate with decals
After the paint is dry (about 15 minutes), carefully apply decals you just cut out onto the band with mod podge. I brushed the mod podge on the back of the decals and placed it on the helmet.
To contour decal on curved areas, use xacto knife or a pair of craft scissors to cut the edges of the image.
Apply gentle pressure using your fingers to make sure decals stick.
Step 6 – Trim decals for a perfect fit
Here, I also painted the strap. Gotham City is finally coming together!
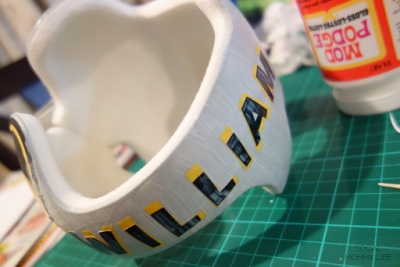
Step 7 – Decorate with letter stickers
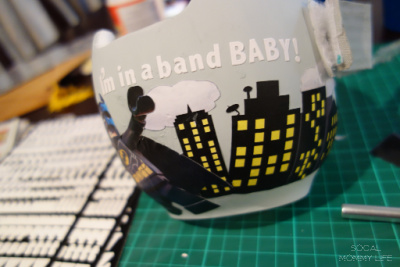
Here, I layered the black letters on top of the yellow letter stickers. If you can’t find the right color combination, you can layer letter stickers too!

Step 8 – Seal DOC band with mod podge
Use the sponge brush and apply mod podge all over. Carefully to not paint on the foam parts of the DOC band.
If you have an old jar of mod podge, you can add a bit of water to thin it out. This will reduce brush strokes when dry.
Final Step – Let your DOC band dry
Let dry your masterpiece! Since I only applied one thin coat of mod podge, I let the helmet dry for about 1.5 hours.
DOC Band Decorating FAQs
What paint can you use on a DOC band?
According to Cranial Technologies, an exclusive provider of DOC bands, only Acrylic and water-based latex paint should be used to paint the DOC band. These types of paints are water-based, making them less toxic than oil-based paints.
How do you clean DOC bands?
During bath time, remove the band and clean the inside with 70% isopropyl rubbing alcohol only. First, scrub the
inside of the band with a dry towel to remove oil and sweat. Generously apply the rubbing alcohol to a dry cloth and vigorously scrub inside of the band. Set it upside down to dry while bathing your baby.

So, there you have it! I hope you find these DOC band decorating steps helpful. Have fun decorating your baby’s DOC band!
Let me know how yours turn out by leaving a comment below!
DOC Band Decorating Related Posts
- Easy DIY Baby Milestone Onesies
- 17 newborn baby room decorating ideas you need to steal now
- Baby Eczema Itch Relief: The Beginner’s Guide
- Best Non-Toxic Baby Crawling Mat Every Family Should Have